ConfigMap
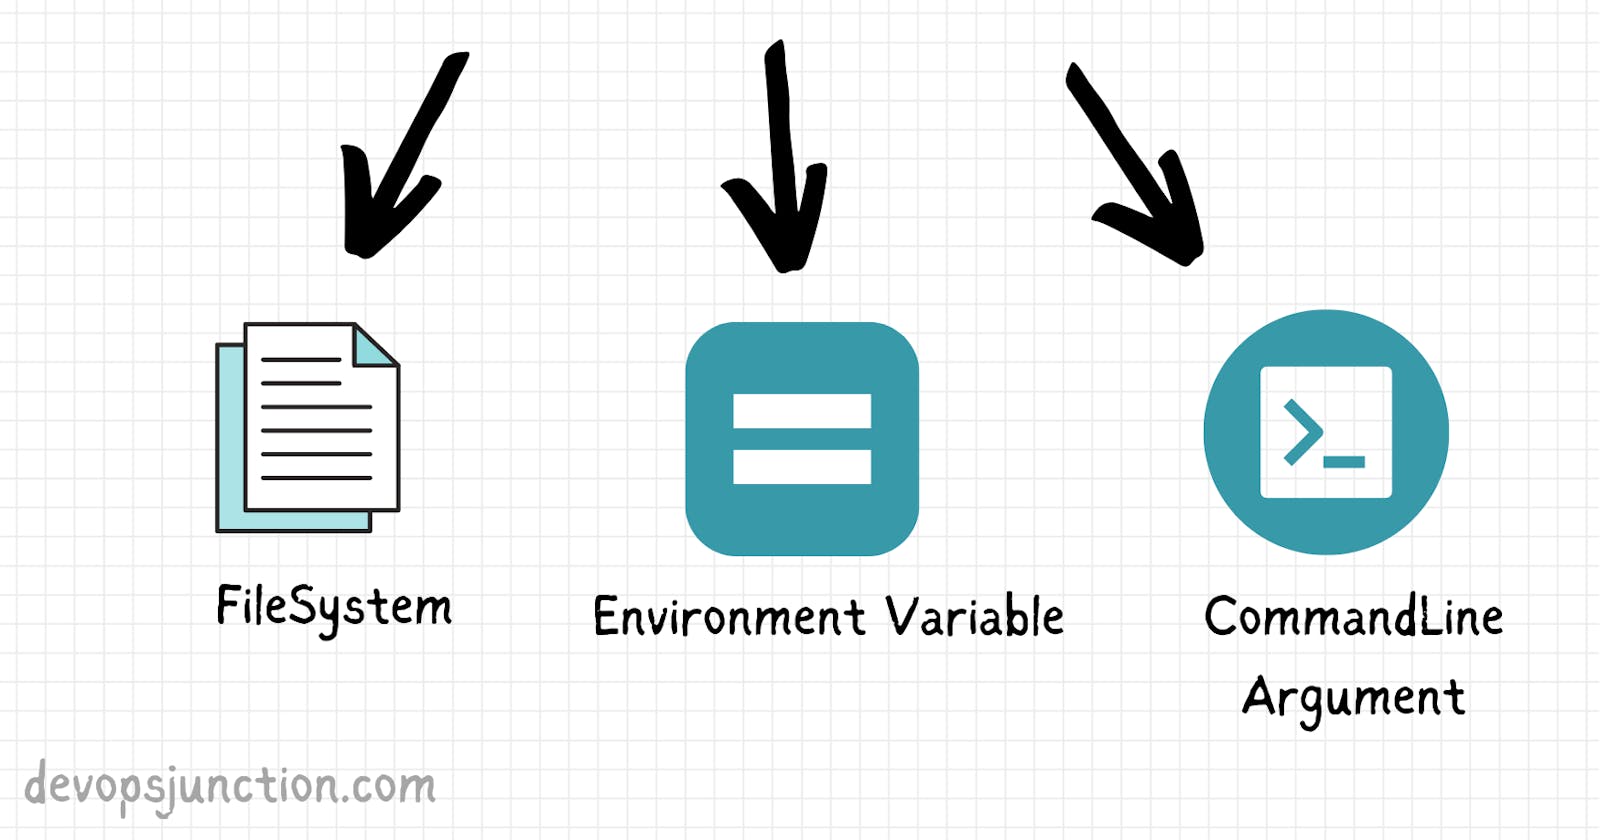
A configMap is an API object used to store non-confidential data in key-value pairs. Pods can consume ConfigMaps as env variables, command-line arguments, or as configuration files in a volume.
A configMap allows you to decouple env specific configuration from our containers images, so that our applications are easily portable.
Note: It doesn't provide secrecy or encryption.
Now in this tutorial we will learn how to write configMap file (cm.yml) and use it to store non-confidential data and we will see some issue which we faces while we are using ConfigMap and solve it using Volumemounts
Firstly we need to start our minikube cluster
minikube start
After that, we will create a new file which will be for our config map:
vim cm.yml
paste the code inside the file:
apiVersion: v1
kind: ConfigMap
metadata:
  name: test-cm
data:
  db-port: "3306"
Now we will run the configMap file using the command:
kubectl apply -f cm.yml
Now to check if your configmap running or not use the command:
kubectl describe cm test-cm
The output will look like this:
Name:         test-cm
Namespace:    default
Labels:       <none>
Annotations:  <none>

Data
====
db-port:
----
3306

BinaryData
====

Events:  <none>
Now my end goal will be to take this field from configMap and put this field as Environment variables inside my pod and for that, we will create a new pod
Now for that, we will create a new Deployment file and in our deployment.yml basically, we will add an "env" parameter which is used to define the environment variables inside our pod
apiVersion: apps/v1
kind: Deployment
metadata:
  name: sample-python-app
  labels:
    app: sample-python-app
spec:
  replicas: 2
  selector:
    matchLabels:
      app: sample-python-app
  template:
    metadata:
      labels:
        app: sample-python-app
    spec:
      containers:
      - name: python-app
        image: abhishekf5/python-sample-app-demo:v1
        env:
         - name: DB-PORT
           valueFrom:
            configMapKeyRef:
             name: test-cm
             key: db-port
        ports:
        - containerPort: 8000
Run the deployment.yml
kubectl apply -f deployment.yml
Now if you want to go inside the pod use the command:
kubectl exec -it {pod name} -- /bin/bash
Now you will log in inside the pod.
now you can see the env that you have created inside cm.yml can be fetched inside the pod using grep command:
env | grep DB
output:
root@sample-python-app-76c5d7f874-nhf2w:/app# env | grep DB
DB-PORT=3306
root@sample-python-app-76c5d7f874-nhf2w:/app#
Now what if we want to change the DB-port of our database from 3306 to 3307 we can't do that hence the change in environment variable inside our pod is not possible and we can't update it because containers don't allow to change the environment variable and if we restart the container some data will be lost so we can't do that.
hence we use VolumeMounts because in Volumemounts we will do the same thing but instead of env we will create it as a file so our config map details will be saved inside a file
So, to implement VolumeMounts we need to edit our deployment.yml file and this time we will remove the "env" parameter and add a new parameter "volumes"
apiVersion: apps/v1
kind: Deployment
metadata:
  name: sample-python-app
  labels:
    app: sample-python-app
spec:
  replicas: 2
  selector:
    matchLabels:
      app: sample-python-app
  template:
    metadata:
      labels:
        app: sample-python-app
    spec:
      containers:
      - name: python-app
        image: abhishekf5/python-sample-app-demo:v1
        volumeMounts:
         - name: db-connection
           mountPath: /opt
        ports:
        - containerPort: 8000
      volumes:
        - name: db-connection
          configMap:
            name: test-cm
Now if you again log into the pod and then use the command:
cat /opt/db-port | more
the output will be the db-port which you have saved inside the configMap file.
Now if we again edit the cm.yml change the port from 3307 to 3310 and again create it you will see that this time the port has been changed without even restarting the port.
That's a wrap..............
